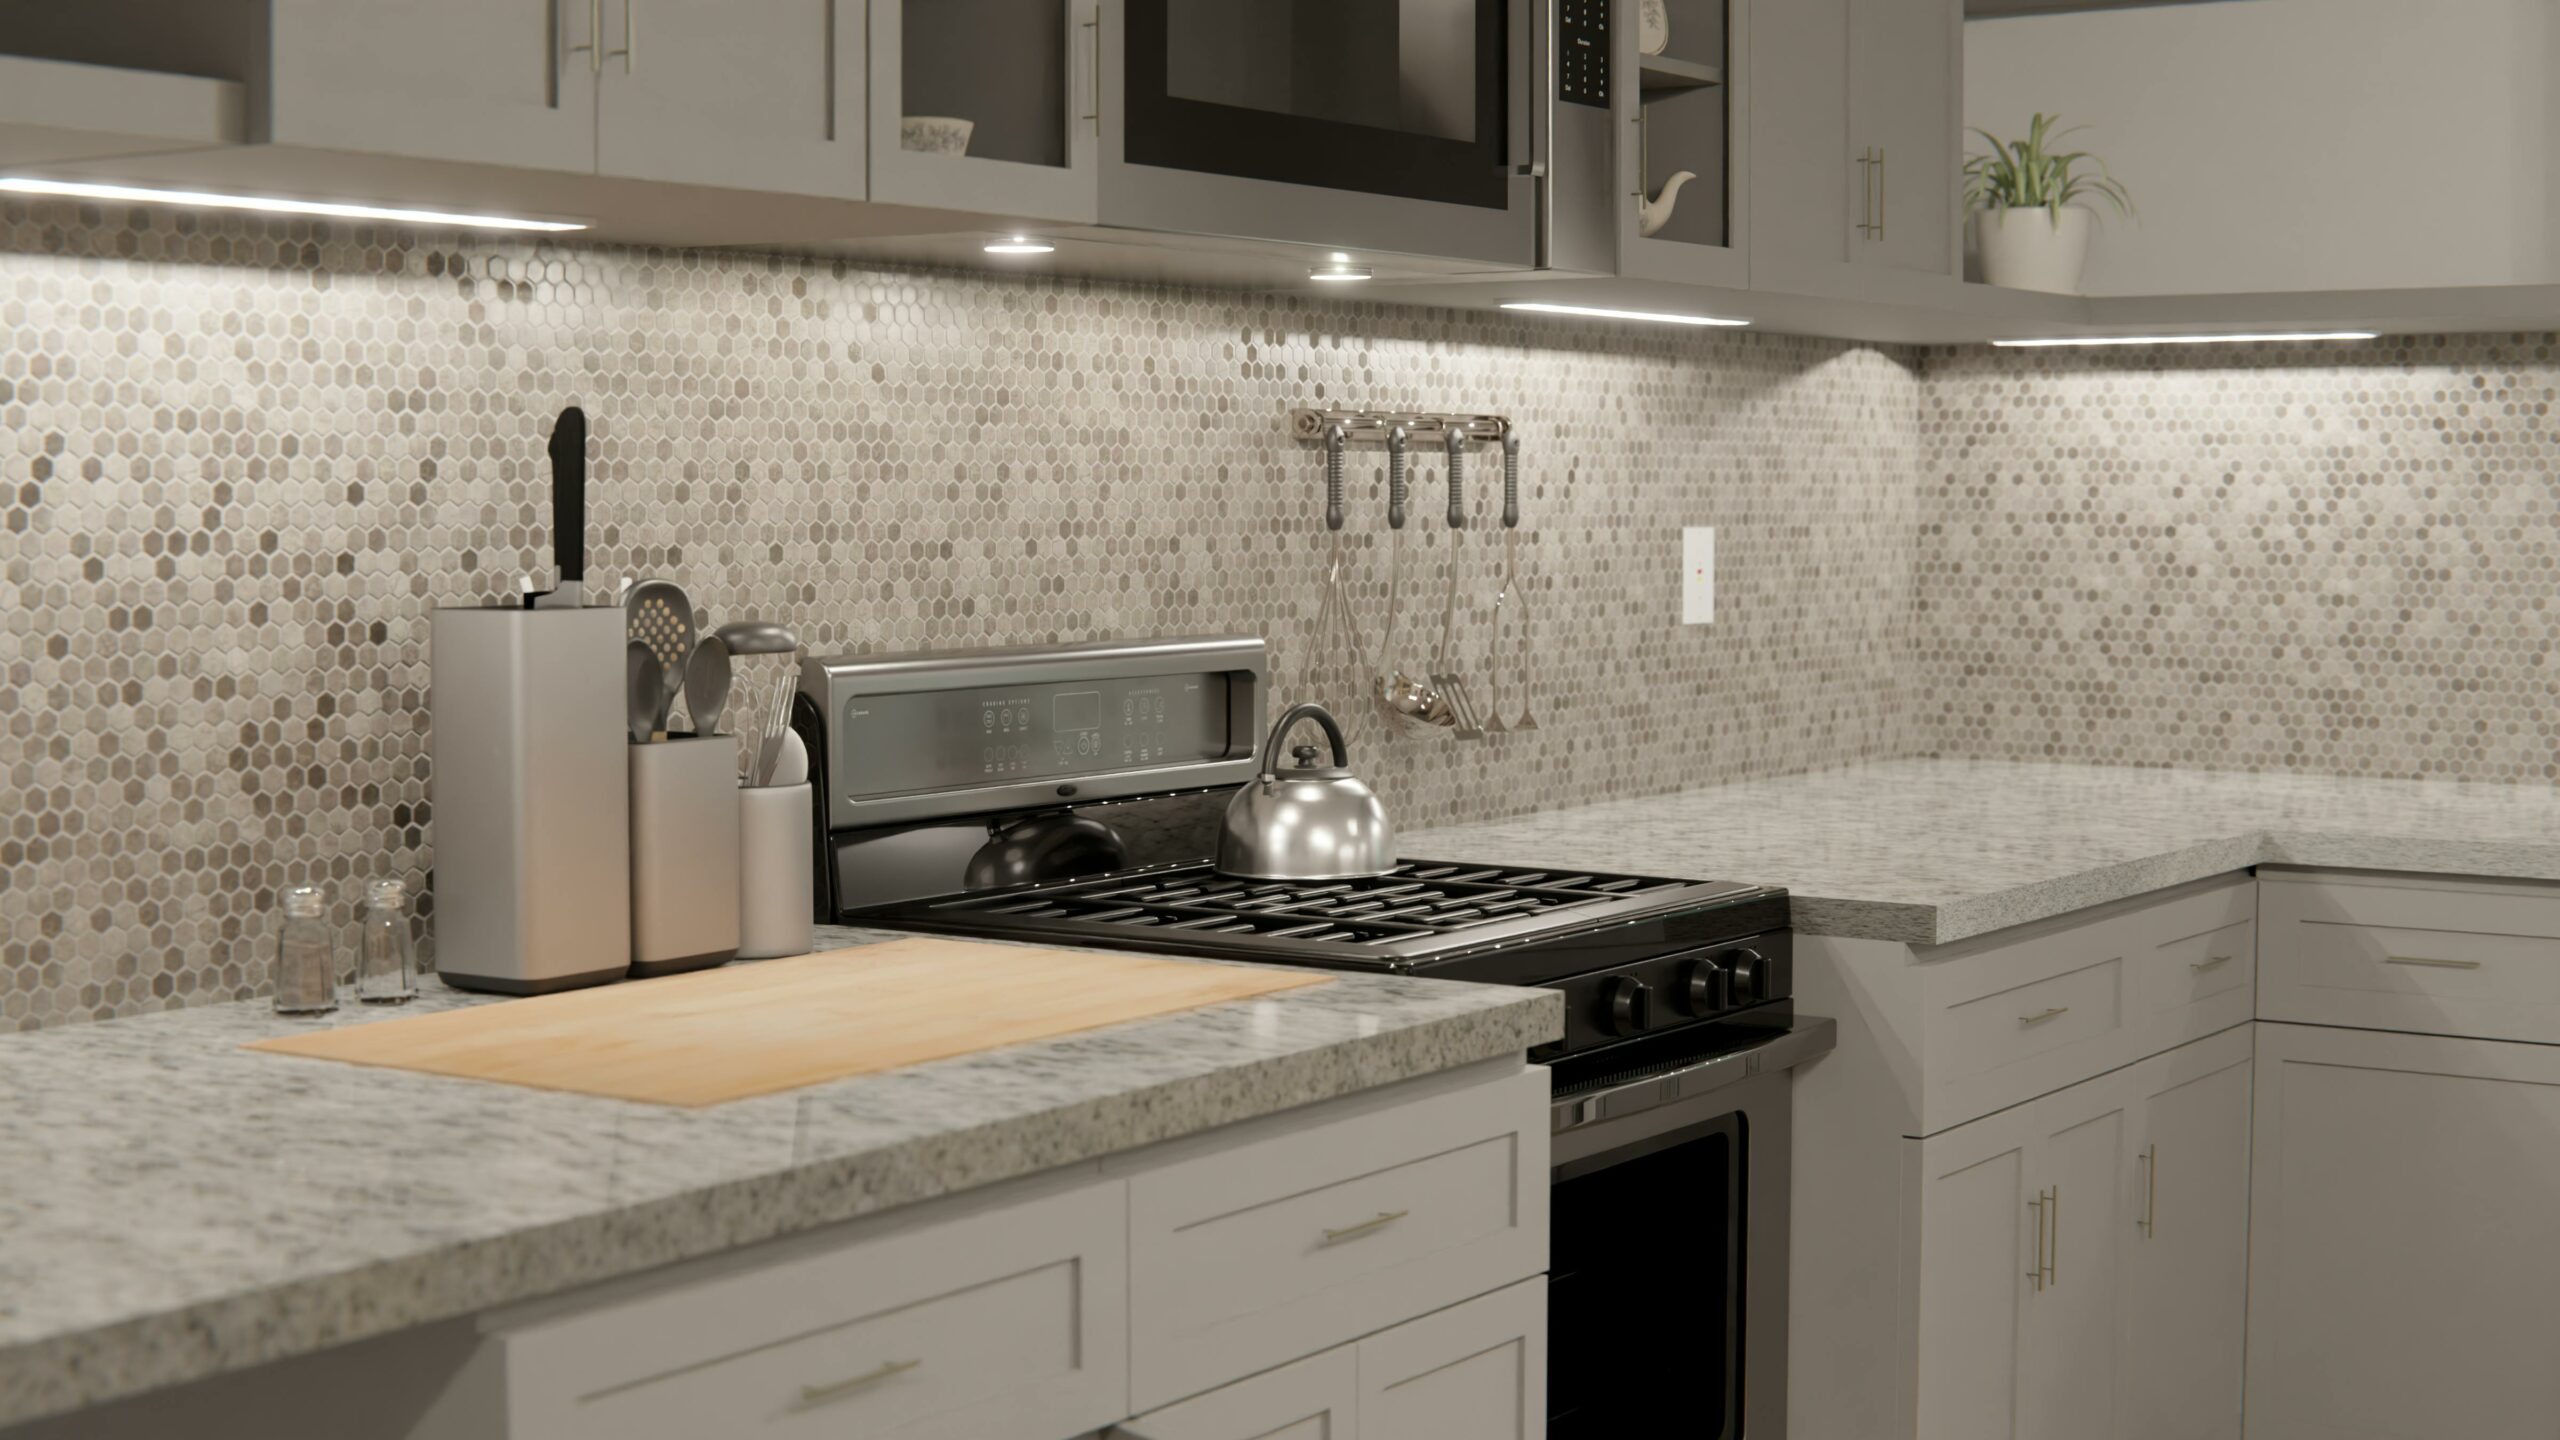
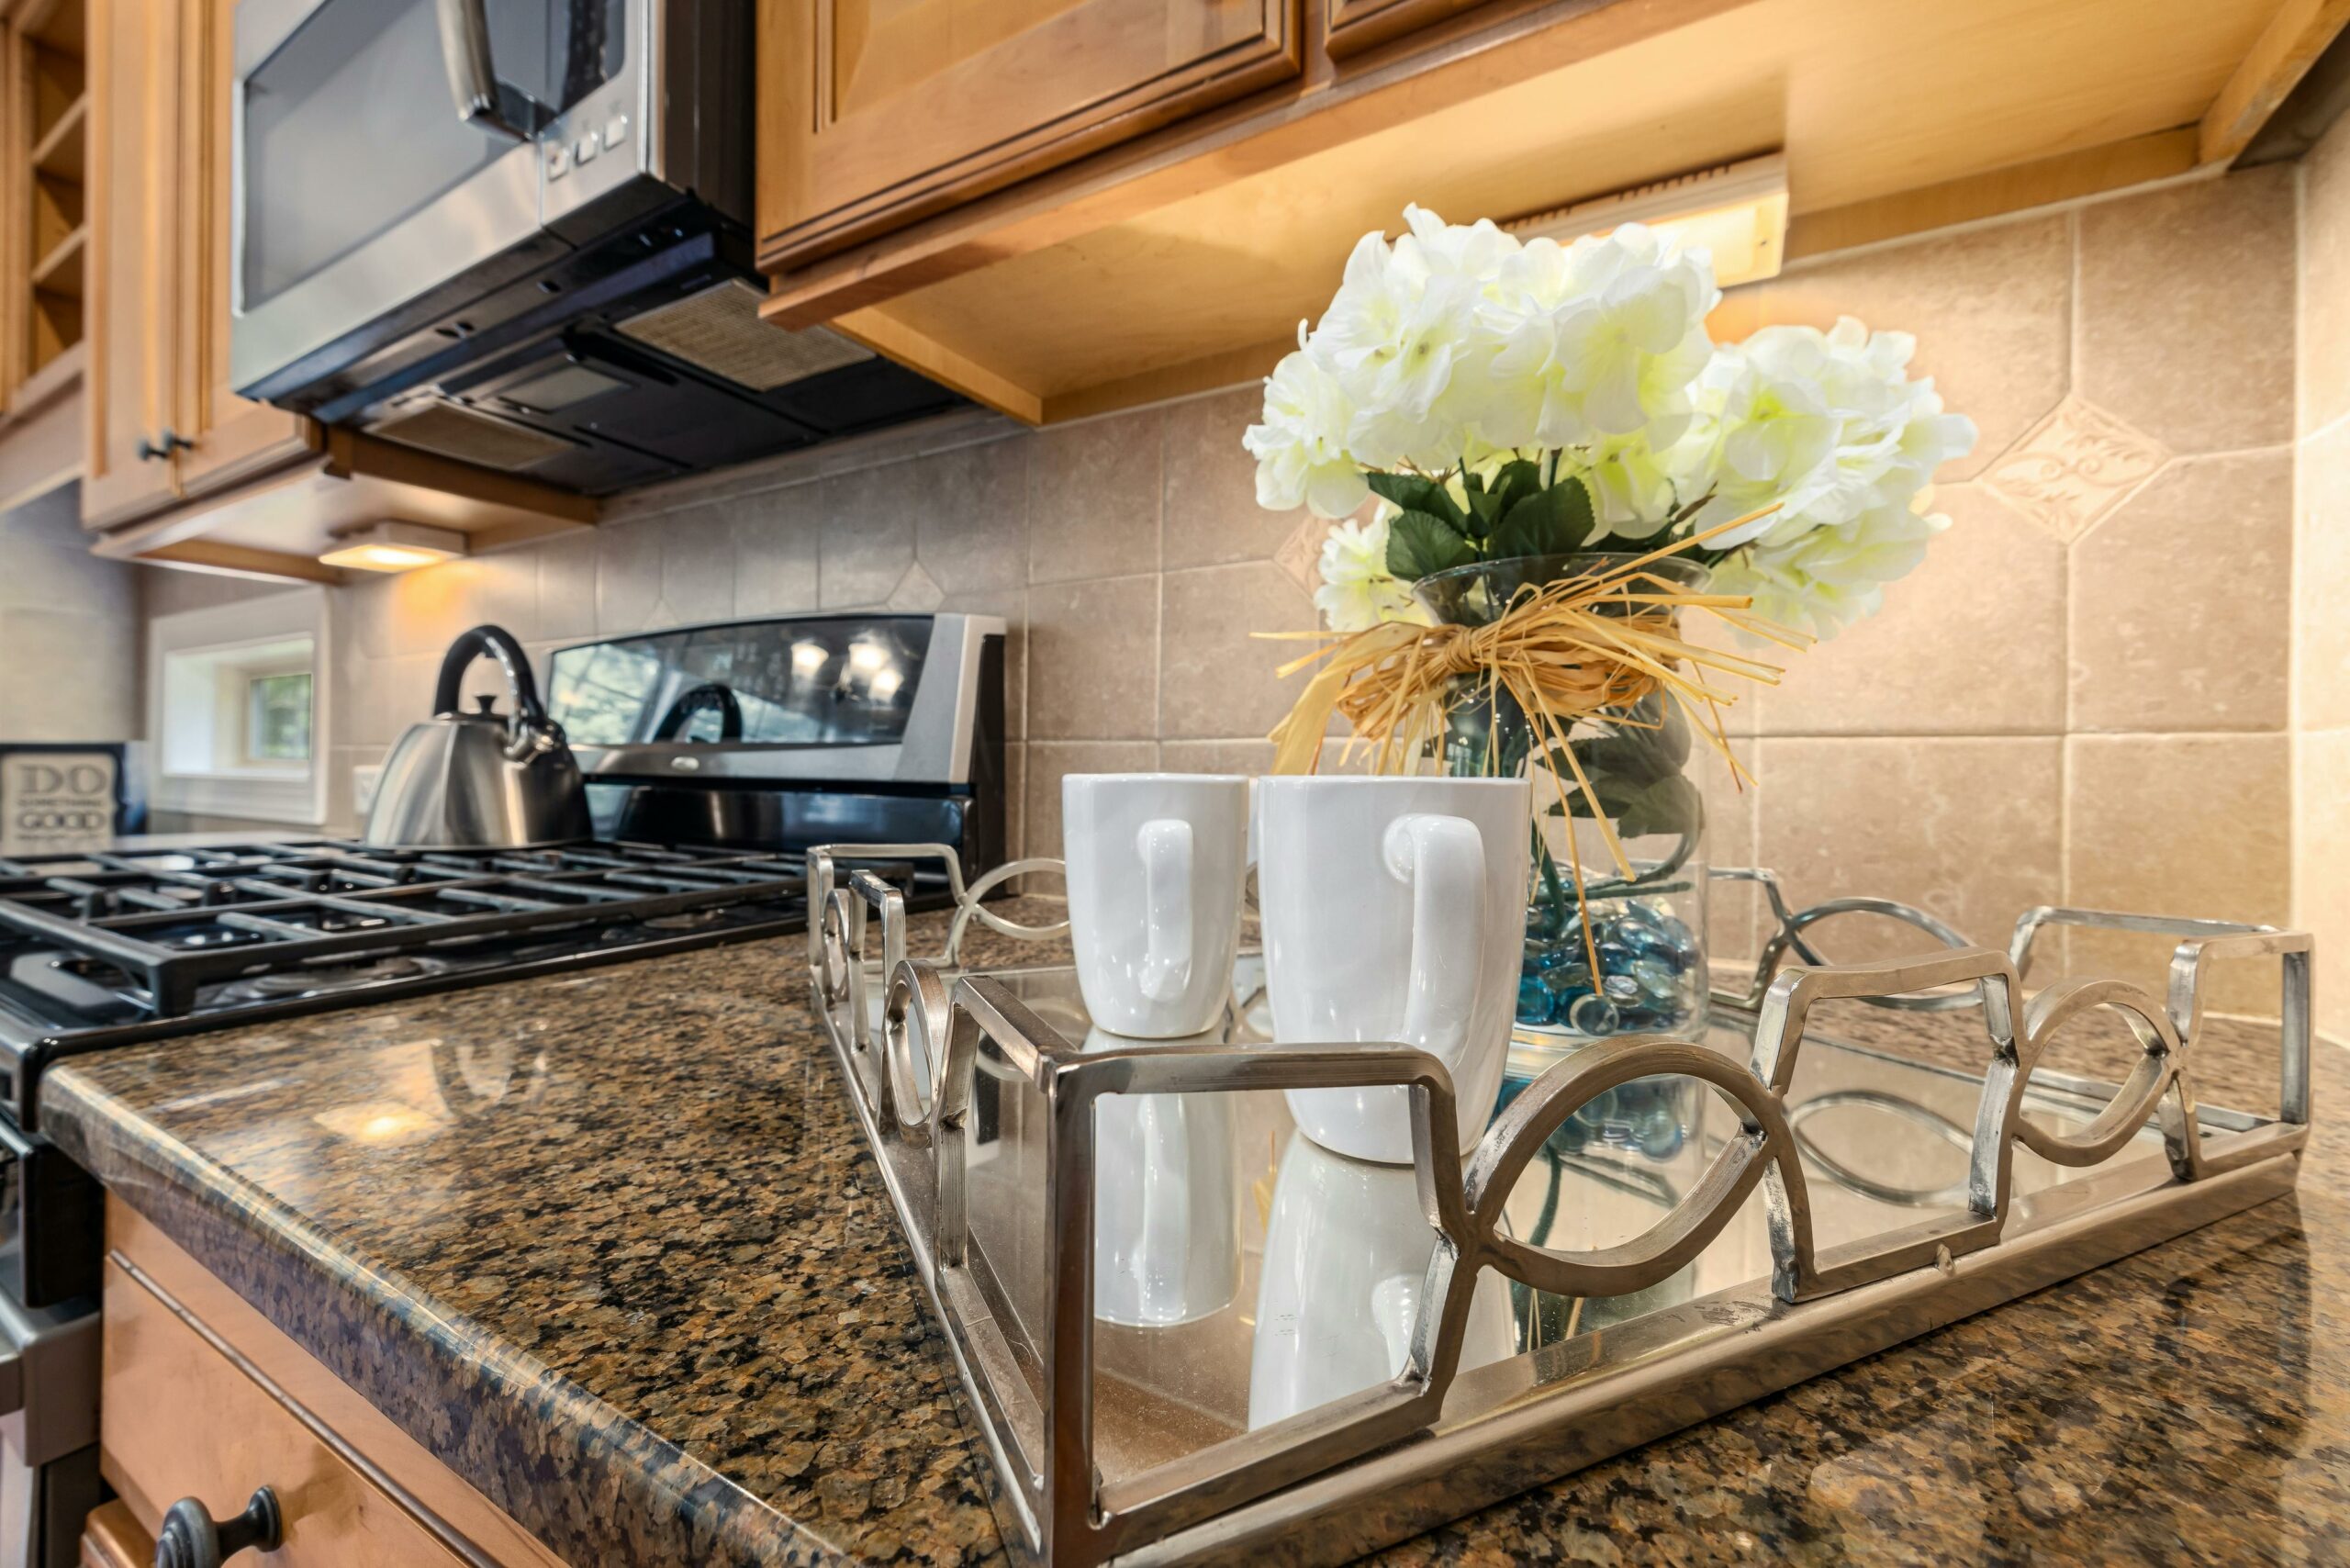
Mastering how to replace countertops is a skill that not only elevates the aesthetic quality of your kitchen or bathroom but also adds significant value to your home. As a homeowner, sprucing up your living space with a fresh countertop is a rewarding project, and with the right guidance, it is completely within your reach.
In this article, we’ll venture deep into understanding the basics, assessing when a countertop needs a replacement, and what kind of countertops one might consider as a replacement. Further, we’ll break down the preparation and the actual replacement process, listing specific tools needed and providing a detailed guide on how to do the task effectively.
Emphasizing safety measures, we will highlight potential challenges that might arise in the process and provide troubleshooting strategies to overcome them. Post-replacement, you will learn how to maintain the longevity of your newly installed countertop as part of your home’s upkeep. Lastly, we’ll reveal the immense benefits of learning how to replace countertops on your own.

Understanding the Basics of How to Replace Countertops
Replacing countertops can be a daunting task, but with the right knowledge and tools, it is a project that you can tackle yourself. Understanding the basics of how to replace countertops will not only save you money but also give you the satisfaction of completing a home improvement project on your own.
Assessing the Need for Replacing Your Countertops
The first step in replacing your countertops is to assess whether they actually need to be replaced. Look for signs of damage, such as cracks, stains, or warping. Consider the overall condition and functionality of your countertops. If they are outdated or no longer meet your needs, it may be time for a replacement.
Types of Countertops to Consider During Replacement
When replacing your countertops, you have a wide range of options to choose from. Some popular choices include granite, quartz, laminate, and solid surface. Each type has its own unique characteristics, so it’s important to research and consider factors such as durability, maintenance, and cost before making a decision.
Preparation Steps for Countertop Replacement
Before you begin the countertop replacement process, there are a few preparation steps that need to be taken. This includes removing any items from the existing countertops, disconnecting and removing appliances, and ensuring that the area is clean and free of debris.
Tools Required to Replace a Countertop
To replace a countertop, you will need a variety of tools. Some common tools include a pry bar, screwdriver, utility knife, measuring tape, level, and a drill. Depending on the type of countertop you choose, you may also need specialized tools such as a wet saw or adhesive applicator.
Step by Step Guide on Replacing Your Countertops
Replacing countertops involves several steps that need to be followed carefully. These steps include removing the old countertops, measuring and cutting the new countertops, installing the new countertops, and making any necessary adjustments or finishing touches.
Safety Measures to Follow When Replacing Countertops
It’s important to prioritize safety when replacing countertops. Always wear protective gear such as gloves and safety glasses. Use caution when handling tools and be mindful of your surroundings. If you are unsure about any aspect of the countertop replacement process, it’s best to consult a professional.
Potential Challenges in Countertop Replacement Process
While replacing countertops can be a rewarding project, it’s important to be aware of potential challenges that may arise. These challenges can include unexpected damage to the existing cabinets, difficulties in removing the old countertops, or issues with aligning and securing the new countertops. Being prepared and having a backup plan can help you overcome these challenges.
Maintaining Your Newly Replaced Countertops
Once you have successfully replaced your countertops, it’s important to maintain them properly to ensure their longevity. This includes regular cleaning, using appropriate cleaning products, and avoiding harsh chemicals or abrasive materials that can damage the surface. Following manufacturer’s instructions and practicing proper care will help keep your countertops looking their best.
Benefits of Learning How to Replace Countertops Yourself
Learning how to replace countertops yourself can offer several benefits. It allows you to save money on labor costs, gives you the freedom to choose the materials and design that best suits your preferences, and provides a sense of accomplishment and satisfaction. Additionally, having the skills to replace countertops can be useful for future home improvement projects.

Assessing the Need for Replacing Your Countertops
When it comes to home improvement projects, replacing your countertops can have a significant impact on the overall look and functionality of your kitchen or bathroom. However, before diving into the replacement process, it’s essential to assess whether or not your countertops actually need to be replaced. This assessment will help you determine if it’s the right time to invest in new countertops or if you can make do with some repairs or upgrades.
Signs that indicate the need for countertop replacement:
-
- Damaged or cracked surfaces: If your countertops have visible cracks, chips, or deep scratches, it can not only affect the aesthetics but also compromise their functionality. Cracks can lead to water damage and harbor bacteria, making them difficult to clean.
-
- Outdated or worn-out appearance: If your countertops are outdated or worn-out, they can make your entire kitchen or bathroom look outdated. Replacing them can give your space a fresh and modern look.
-
- Stains and discoloration: Over time, countertops can develop stubborn stains or discoloration that cannot be removed, no matter how much you clean them. This can be a sign that the material is deteriorating and needs to be replaced.
-
- Lack of functionality: If your current countertops don’t meet your needs in terms of functionality, such as insufficient workspace or lack of storage options, it may be time to consider replacing them with countertops that better suit your lifestyle.
-
- Deterioration of the material: Some countertop materials, such as laminate or wood, can deteriorate over time due to exposure to heat, moisture, or regular wear and tear. If you notice signs of deterioration, it’s a clear indication that replacement is necessary.
By assessing these factors, you can determine whether it’s time to replace your countertops or explore other options such as repairs or upgrades. It’s important to consider your budget, the extent of the damage, and your desired outcome when making this decision. Remember, replacing your countertops can significantly enhance the overall look and functionality of your space, so it’s worth investing in if the need is evident.

Types of Countertops to Consider During Replacement
When it comes to replacing your countertops, there are several different types to consider. Each type has its own unique characteristics and benefits, so it’s important to choose one that suits your needs and personal style. Here are some of the most popular types of countertops to consider:
1. Granite Countertops
Granite countertops are a popular choice for many homeowners due to their durability and natural beauty. They are resistant to heat, scratches, and stains, making them a great option for busy kitchens. Granite countertops come in a wide range of colors and patterns, allowing you to find one that perfectly complements your kitchen design.
2. Quartz Countertops
Quartz countertops are engineered stone surfaces that are made from a combination of natural quartz and resin. They are highly durable, non-porous, and resistant to stains and scratches. Quartz countertops are available in a variety of colors and patterns, making them a versatile choice for any kitchen or bathroom.
3. Marble Countertops
Marble countertops are known for their timeless elegance and beauty. They have a smooth, cool surface that is perfect for baking and working with dough. However, marble is a porous material and can be prone to staining, so it requires regular sealing and maintenance to keep it looking its best.
4. Solid Surface Countertops
Solid surface countertops are made from a blend of acrylic, polyester, and natural minerals. They are highly durable, non-porous, and easy to clean. Solid surface countertops come in a wide range of colors and patterns, and they can be seamlessly integrated with sinks and backsplashes for a sleek, modern look.
5. Laminate Countertops
Laminate countertops are an affordable and low-maintenance option for those on a budget. They are made from layers of plastic laminate bonded to particleboard or plywood. Laminate countertops come in a variety of colors and patterns, including designs that mimic the look of natural stone or wood.
6. Butcher Block Countertops
Butcher block countertops are made from strips of wood that are glued together and then sanded and sealed. They provide a warm and natural look to any kitchen. Butcher block countertops require regular oiling and maintenance to prevent drying and cracking, but they can be easily sanded and refinished to remove any scratches or stains.
These are just a few of the many types of countertops available for replacement. Consider your budget, lifestyle, and design preferences when choosing the right countertop material for your home.
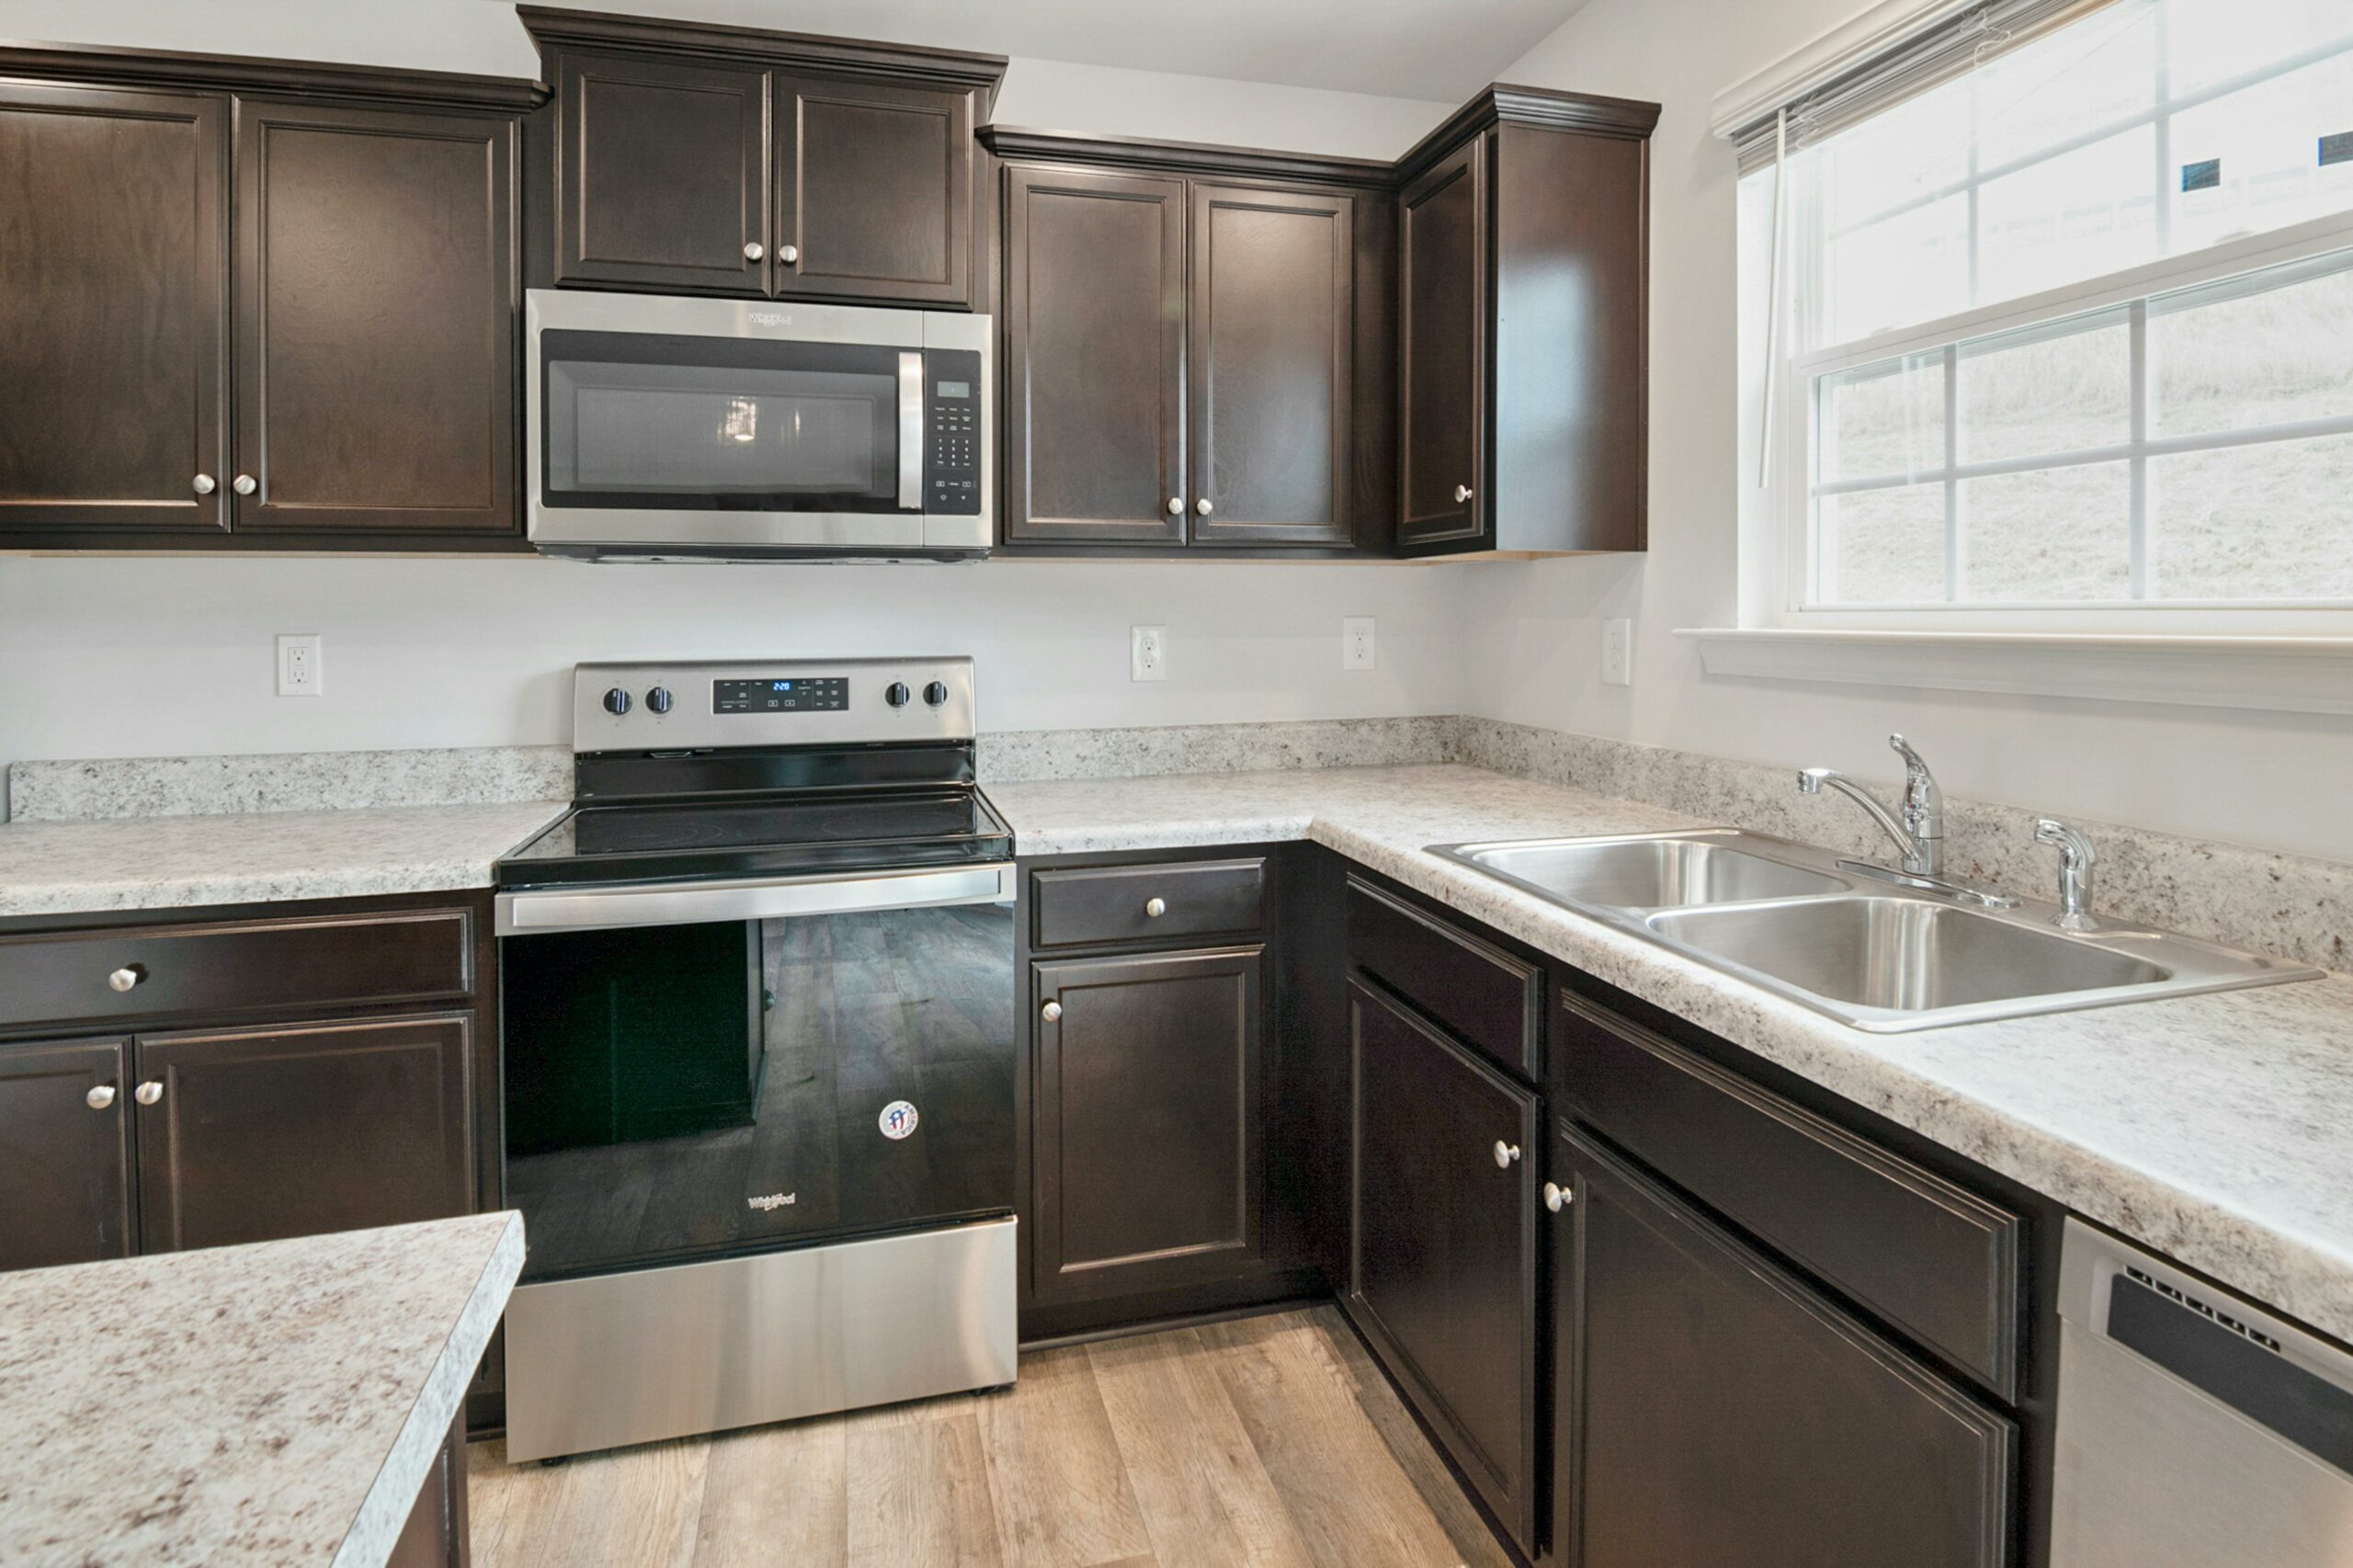
Preparation Steps for Countertop Replacement
Before starting the countertop replacement process, it is important to properly prepare for the project. This will ensure that the process goes smoothly and that you achieve the desired results. Here are the key preparation steps to follow:
1. Measure and Plan
The first step is to measure your existing countertops and create a detailed plan for the replacement. Measure the length, width, and depth of each countertop section and record these measurements. Take note of any special features or cutouts that need to be accounted for in the replacement. Use these measurements and the plan to determine the amount of new countertop material you will need.
2. Choose the Right Countertop Material
Consider the different types of countertops available and choose the one that best suits your needs and style preferences. Take into account factors such as durability, maintenance requirements, and cost. Research the pros and cons of each material to make an informed decision.
3. Remove the Old Countertops
Prior to installing the new countertops, you will need to remove the old ones. Start by disconnecting any plumbing fixtures, such as sinks or faucets, that are attached to the countertops. Use a utility knife to cut through any caulking or adhesive that is holding the countertops in place. Carefully lift and remove the old countertops, taking care not to damage the surrounding cabinets or walls.
4. Prepare the Substrate
Inspect the substrate beneath the old countertops to ensure it is in good condition. Repair any damage or reinforce weak areas as needed. Clean the substrate thoroughly to remove any debris, dust, or old adhesive. This will provide a clean and stable surface for the new countertops to be installed on.
5. Gather the Necessary Tools and Materials
Before starting the installation process, gather all the tools and materials you will need. This may include items such as a tape measure, level, circular saw, jigsaw, drill, adhesive, screws, and countertop sealant. Having everything readily available will make the installation process more efficient.
6. Protect the Surrounding Areas
Take the necessary precautions to protect the surrounding areas during the countertop replacement process. Cover the floors, cabinets, and appliances with drop cloths or plastic sheets to prevent any damage from occurring. This will also make the cleanup process easier once the installation is complete.
7. Plan for Temporary Kitchen Setup
Since the countertop replacement process may take some time, it is important to plan for a temporary kitchen setup. Consider setting up a temporary countertop space using a sturdy table or other surfaces. Move essential appliances and utensils to this temporary setup to ensure you can still prepare meals during the replacement process.
By following these preparation steps, you will be well-prepared for the countertop replacement process and increase the likelihood of a successful installation. Taking the time to properly prepare will help you achieve the desired results and ensure the longevity of your new countertops.

Tools Required to Replace a Countertop
Replacing a countertop requires a few essential tools to ensure a smooth and successful process. Here are the tools you will need:
-
- Tape Measure: This tool is crucial for accurately measuring the dimensions of your countertop and the space it will fit into.
-
- Pry Bar: A pry bar is used to remove the old countertop by gently prying it away from the cabinets or base.
-
- Utility Knife: A utility knife is handy for cutting any caulk or adhesive that may be holding the countertop in place.
-
- Screwdriver: Depending on the type of countertop installation, you may need a screwdriver to remove screws or fasteners.
-
- Level: A level is essential for ensuring that the countertop is installed correctly and levelled properly.
-
- Power Drill: A power drill will be needed to make holes for screws or to create pilot holes for any necessary hardware.
-
- Jigsaw: If you need to make any cuts or adjustments to the countertop, a jigsaw can be used to achieve precise and clean cuts.
-
- Clamps: Clamps are useful for holding the countertop in place while it is being installed or secured.
-
- Putty Knife: A putty knife can be used to apply adhesive or caulk to ensure a secure and watertight seal.
-
- Gloves and Safety Glasses: It is important to protect yourself during the countertop replacement process, so be sure to wear gloves and safety glasses.
Having these tools on hand will make the countertop replacement process much easier and more efficient. It is always a good idea to gather all the necessary tools before starting the project to avoid any delays or interruptions.

Step by Step Guide on Replacing Your Countertops
Replacing your countertops can give your kitchen or bathroom a fresh new look. Whether you’re doing it for aesthetic reasons or because your current countertops are damaged, this step-by-step guide will help you navigate the process.
1. Remove the Old Countertops
The first step is to remove the old countertops. Start by disconnecting any plumbing fixtures and appliances that are attached to the countertop. Then, carefully remove any screws or nails that are holding the countertops in place. Use a pry bar or putty knife to gently lift the countertops off the cabinets.
2. Measure and Cut the New Countertops
Once the old countertops are removed, it’s time to measure and cut the new countertops. Measure the length and width of the cabinets and add a few inches for overhang. Use a circular saw or jigsaw to cut the new countertops to the correct size.
3. Install the New Countertops
With the new countertops cut to size, it’s time to install them. Start by applying a thin layer of adhesive to the top of the cabinets. Carefully place the new countertops on top of the adhesive, making sure they are level and secure. Use clamps to hold the countertops in place while the adhesive dries.
4. Connect Plumbing Fixtures and Appliances
Once the new countertops are securely in place, it’s time to reconnect any plumbing fixtures and appliances. Install the sink, faucet, and any other fixtures that were removed during the countertop removal process. Make sure everything is properly connected and functioning before moving on to the next step.
5. Finish the Edges
To give your new countertops a polished look, you’ll need to finish the edges. There are several options for finishing the edges, including using edge banding, applying a decorative trim, or using a router to create a custom edge. Choose the method that best suits your style and skill level.
6. Seal the Countertops
Once the countertops are installed and the edges are finished, it’s important to seal them. Use a high-quality countertop sealer to protect the surface from stains and damage. Follow the manufacturer’s instructions for applying the sealer and allow it to dry completely before using the countertops.
7. Clean Up
After the countertops are installed and sealed, it’s time to clean up. Remove any debris or tools from the area and give your new countertops a thorough cleaning. Use a mild cleaner and a soft cloth to wipe down the surface, making sure to remove any dust or residue.
By following this step-by-step guide, you can successfully replace your countertops and give your kitchen or bathroom a fresh new look. Remember to take your time, measure accurately, and follow all safety precautions to ensure a successful countertop replacement.

Safety Measures to Follow When Replacing Countertops
When it comes to replacing countertops, safety should always be a top priority. Here are some important safety measures to follow during the countertop replacement process:
1. Wear Protective Gear
Before you start any work, make sure to wear the appropriate protective gear. This includes safety goggles, gloves, and a dust mask. These items will protect you from potential hazards such as flying debris, sharp tools, and harmful dust particles.
2. Turn Off Power and Water Supply
Prior to removing the old countertop, it is crucial to turn off the power and water supply to any electrical outlets or plumbing fixtures in close proximity. This will prevent any accidents or damage that could occur if these utilities are left on during the replacement process.
3. Use Proper Lifting Techniques
Countertops can be heavy, especially if they are made of materials like granite or marble. When lifting and carrying the old or new countertops, always use proper lifting techniques to avoid strain or injury. Bend your knees, keep your back straight, and ask for assistance if needed.
4. Secure the Work Area
Make sure to secure the work area by removing any obstacles or tripping hazards. Keep the area well-lit and clean up any spills or debris promptly to prevent accidents. Additionally, use caution tape or barriers to keep others away from the work area to avoid potential injuries.
5. Use Tools Safely
When using tools such as saws, drills, or hammers, it is important to use them safely and correctly. Read and follow the manufacturer’s instructions and wear appropriate safety gear. Always keep your fingers and hands away from the cutting or striking area to prevent accidents.
6. Dispose of Materials Properly
After removing the old countertop, dispose of the materials properly. Broken or sharp pieces should be placed in a sturdy container or bag to prevent injuries. Follow local regulations for disposal or recycling of materials to ensure environmental safety.
7. Follow Installation Instructions
When installing the new countertop, carefully follow the manufacturer’s instructions. Improper installation can lead to accidents or damage. If you are unsure about any step, consult a professional or seek guidance from an expert.
By following these safety measures, you can ensure a smooth and accident-free countertop replacement process. Remember, safety should always come first to protect yourself and others involved in the project.

Potential Challenges in Countertop Replacement Process
While replacing countertops can be a rewarding and cost-effective home improvement project, it is not without its challenges. Here are some potential challenges you may encounter during the countertop replacement process:
1. Finding the Right Replacement
One of the challenges homeowners face is finding the right replacement countertop that fits their style and budget. With numerous options available, such as granite, quartz, laminate, and solid surface, it can be overwhelming to make a decision.
2. Measuring and Cutting
Precision is crucial when it comes to measuring and cutting the new countertop to fit perfectly in the space. Even a small miscalculation can result in an ill-fitting countertop, leading to gaps or uneven surfaces.
3. Removing the Old Countertop
Removing the old countertop can be a labor-intensive task, especially if it is glued or caulked in place. It may require using specialized tools and techniques to safely and efficiently remove the old countertop without damaging the surrounding area.
4. Plumbing and Electrical Considerations
If your countertop has built-in sinks or appliances, you will need to consider the plumbing and electrical connections. Ensuring that these connections are properly installed and functional can be a challenge, especially if you are not familiar with these systems.
5. Installation and Sealing
Installing the new countertop requires careful attention to detail to ensure it is level and secure. Additionally, sealing the countertop properly is essential to protect it from stains and damage. Improper installation or sealing can lead to issues down the line.
6. Unexpected Issues
During the countertop replacement process, unexpected issues may arise, such as hidden damage or structural problems. These unforeseen challenges can delay the project and require additional time and resources to address.
Despite these potential challenges, with proper planning, preparation, and guidance, you can successfully navigate the countertop replacement process and achieve the desired results.

Maintaining Your Newly Replaced Countertops
Once you have successfully replaced your countertops, it is important to take proper care of them to ensure their longevity and maintain their appearance. Here are some essential tips for maintaining your newly replaced countertops:
1. Clean Regularly
To keep your countertops looking their best, it is important to clean them regularly. Use a gentle cleaner specifically designed for your countertop material and avoid abrasive cleaners that can damage the surface. Wipe up spills immediately to prevent staining.
2. Use Cutting Boards and Trivets
To protect your countertops from scratches and heat damage, always use cutting boards and trivets. Avoid cutting directly on the surface and place hot pans or dishes on heat-resistant mats or trivets to prevent burns or discoloration.
3. Avoid Harsh Chemicals
Avoid using harsh chemicals, such as bleach or ammonia, on your countertops as they can cause discoloration or damage the surface. Stick to mild, non-abrasive cleaners recommended for your specific countertop material.
4. Seal Natural Stone Countertops
If you have natural stone countertops, it is important to regularly seal them to protect against stains and moisture damage. Follow the manufacturer’s instructions for sealing frequency and use a high-quality sealer.
5. Prevent Scratches
To prevent scratches on your countertops, use cutting boards, avoid dragging heavy objects across the surface, and use caution when handling sharp objects. Consider using protective pads or mats under small appliances or utensil holders to prevent scratches.
6. Handle with Care
When using your countertops, be mindful of how you handle heavy or sharp objects. Avoid dropping heavy items onto the surface and use caution when placing or moving items to prevent chips or cracks.
7. Regularly Inspect for Damage
Periodically inspect your countertops for any signs of damage, such as cracks, chips, or stains. Address any issues promptly to prevent further damage and maintain the overall integrity of your countertops.
8. Follow Manufacturer’s Guidelines
Lastly, always follow the manufacturer’s guidelines for cleaning and maintenance specific to your countertop material. These guidelines will provide you with the best practices to keep your countertops in top condition.
By following these maintenance tips, you can ensure that your newly replaced countertops remain beautiful and functional for years to come.

Benefits of Learning How to Replace Countertops Yourself
Replacing countertops can be a costly and time-consuming process. However, there are several benefits to learning how to replace countertops yourself:
1. Cost Savings
By learning how to replace countertops yourself, you can save a significant amount of money on labor costs. Hiring professionals to do the job can be expensive, but by doing it yourself, you only need to invest in the materials and tools.
2. Flexibility and Customization
When you replace countertops yourself, you have the freedom to choose the materials, colors, and designs that best suit your preferences and style. This allows you to create a customized look for your kitchen or bathroom.
3. Personal Satisfaction
Completing a DIY project like countertop replacement can give you a sense of accomplishment and pride in your skills. It allows you to take ownership of the project and see the tangible results of your hard work.
4. Learning Experience
Replacing countertops yourself provides an opportunity to learn new skills and gain knowledge about home improvement. You can acquire valuable knowledge about tools, techniques, and materials that can be applied to future projects.
5. Time Efficiency
While countertop replacement can be time-consuming, learning how to do it yourself can save time in the long run. You won’t have to wait for professionals to be available or schedule appointments, allowing you to complete the project at your own pace.
6. Problem-Solving Skills
During the countertop replacement process, you may encounter unexpected challenges or obstacles. By tackling these issues yourself, you can develop problem-solving skills and become more confident in handling similar situations in the future.
7. Home Value
Replacing countertops with high-quality materials and a professional finish can increase the value of your home. By learning how to do it yourself, you can ensure that the job is done to your satisfaction and potentially attract potential buyers if you decide to sell.
Overall, learning how to replace countertops yourself can be a rewarding and beneficial experience. It allows you to save money, customize your space, and gain valuable skills and knowledge in the process.


